
Key Consultation Points to Consider
Indoor vs. outdoor event
All up, half up or down hairstyle
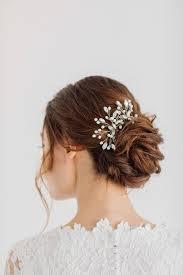
Veil or hairpiece accessories
Time of year of the event
Style of the gown/dress
Style and pictures of the desired look
Time of day for the ceremony or event
Weight & texture of the hair pertaining to the desired style
Extensions/additional hair
Where will the hair pieces be placed
Is the veil going on top or under the style
How long is the veil being worn for
How long is the actual veil Face shape and proportion
Weather vs. product allowances for style
Troubleshooting
Too much hair
Not enough hair
Style it “dirty” or what’s too dirty
What id the hair is frizzy when done
Longevity of a long hair down style
Picture interpretation and placement
Finishing the look
Hiding the pins to look professional
What size curling tool to use
What type of pins to use
What styling aid to use when
Using proper hair decor
When to preset the hair
How to pin securely
When in doubt practice it out
TOOLS NEEDED
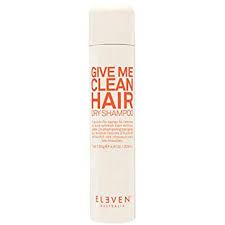
Strong hold hairspray/finishing spray
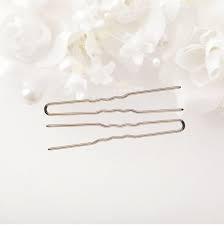
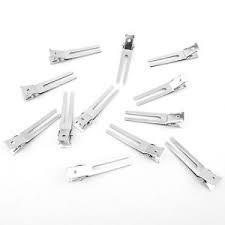
Bobby pins, hair pins
Small elastic bands
Large hair ties
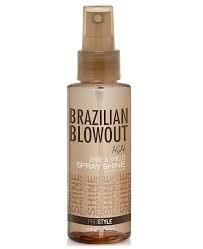
Shine spray
Hot tool or straightener
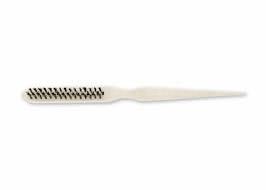
Teasing brush
Volume powder
Regular comb
Setting clips
Setting/working spray
Bun form
Classy yet easy looks broken down:
1.

Section hair 6 times
Twist each section and hold with a small band
Pull front two section toward back and pin
Pull the next two sections back and pin
Secure last two sections
Expand or pin as necessary
Set with spray and finish any smoothing necessary
Add accessories
2.

If adding texture curl top portion of head first
Pull back into 2 low ponytails (leaving out any pieces around the face)
Invert the ponytails through the center of each, up to 2x
Pull out pieces to add dimension
Braid the rest of the hair down and hold with a band
Expand the braid
Roll the hair starting from the very end of the braid up to the head and pin in place
Finish with spray and accessory
3.

Pull two small strands to center back of head and secure with a band
Grab a portion of the hair under the previously secured hair and tuck up and around small hair strand toward the head
Secure if necessary with a bobby pin horizontally
Repeat step 2&3 with the rest of the hair, finishing with the center
Pull out any pieces and dress the look
Spray to finish and add decor
4.

Curl hair in vertical spirals or create 5 double stranded vertical twists
If creating vertical twists pull out sides to expand
Pull each twist closest to the face, leaving out pieces by the face, to the back of the head and pin into place
Cross the opposite strand to back of the head, layering below previous
Twist and pin up remaining hair at the nape of the neck
Pull out and expand the twisted bun
Finish with spray and dress accordingly
5.

Create a smooth ponytail, leaving out any pieces around the face necessary
Secure with a strong hair tie (depending on the density and thickness of hair)
Place a bun form around the hair tie close the the head
Separate ponytail into 3 sections
Braid each section into a three strand braid
Expand each braid Wrap each braid around the pony and bun form
Cover the form and pin into place
Finish and dress the style as necessary
Smooth hair to complete elegant style
Finish with shine spray and accessories
6.

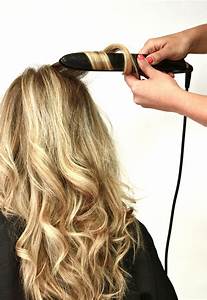
Curl hair with a hot tool starting at the nape of the neck and working up the head
Add volume at the crown of the head and pin into place at the center back of the head
Create braids starting at the top, front of the head
Expand the braids to make fuller and drape around head to back and secure with pins Repeat depending on number of braids, direction per hair part, and desired look based on consultation
Finish the ends of the braided strands with curls
Spray to finish and set style
7.

Curl hair with a hot tool starting at the nape of the neck and working up the head
Depending on the part, section a small pony and secure with a band
Directly behind the previous section create a new pony
Split the previous ponytail in half and wrap around the second pony securing with a band
Repeat step 4 by splitting and securing each previous pony around the following and banding, will start to look like a braid
After crossing over middle back of the head, expand each portion to fatten
Curl the end of the ponytail strand
Spray and finish as desired
8.

Depending on thickness of hair, portion out crown of head and clip away
Tie the rest of the remaining hair into a low ponytail
Create a twisted bun around the ponytail and secure into place
Curl the top portion of hair that was in the clip
Gently start to pin the curls into place around the low bun, letting them organically position themselves
Complete the look making sure its balanced from the front, back and side view
Spray and secure into place thoroughly
Let the client do the shake test and secure any additional pieces that are loose
Finish look and add accessories
*the ponytail can be placed low toward nape or up higher on the head and if so leave out hair underneath pony to curl and pin upward
Other variations:
Thank you for checking out these styles and wishing all the hair beauty to you!











댓글